
Mike McDonald


This is the third installment of my posts on scientific cocktail misadventures, and definitely the one that has required the most work. Early on in quarantine, you might remember, I bought a CO2 tank and learned to make carbonated cocktails, then, in December, I played around with cryo-muddling to make vibrant and herbacious drinks. Along the way, I re-discovered my love for nitro beers, and saught to re-create the deliciously creamy texture, but applied to cold brew tea as well as cocktails.
This post chronicles the multi-month journey wherein I learn that teflon tape is the most important part of any pressure system. Trust me.
Safety note: all hardware used is 303/304 stainless steel unless otherwise specified. While more espensive,stainless is food safe and far more corrosion resistant. Remember that cocktails contain both alcohol and acid, and zinc-plated steel or brass fittings might leach chemicals into our drinks!
Cost: $20
Parts:
After my early success carbonating drinks with a CO2 tank and some simple hardware, I was hoping to have similar success with nitro. However, of you better versed in science than I already see the problem: unlike CO2, nitrogen is not soluable in liquid (at least at my temperatures and pressures…), so I couldn’t just shake the bottle while connected to the tank and pour the nitrogenated liquid out. I needed to pressurize the bottle and let the nitrogen force the liquid out.
I of course took the simplest strategy to prove this would work, which was re-use an existing ball lock QD and use that as my primitive tap faucet.
I filled a 1L soda bottle with delicious cold-brew vanilla rooibos tea, screwed the carbonation cap on, and connected it to my nitro tank.
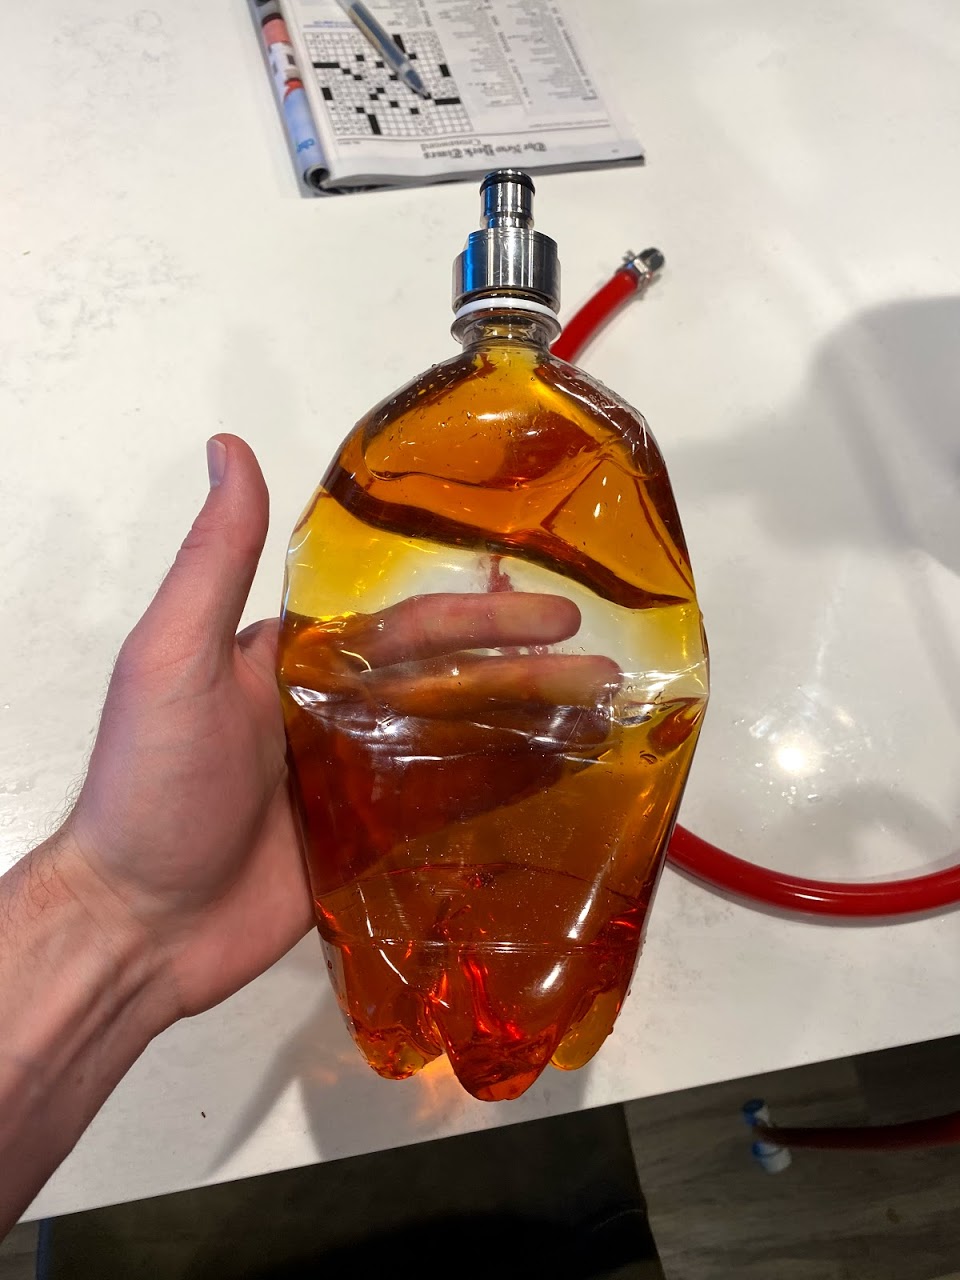
After it had gotten up to pressure, I shook it up a bunch, and put the ball lock QD partially on. I was able to dispense it by manually actuating the QD against the carbonation cap.
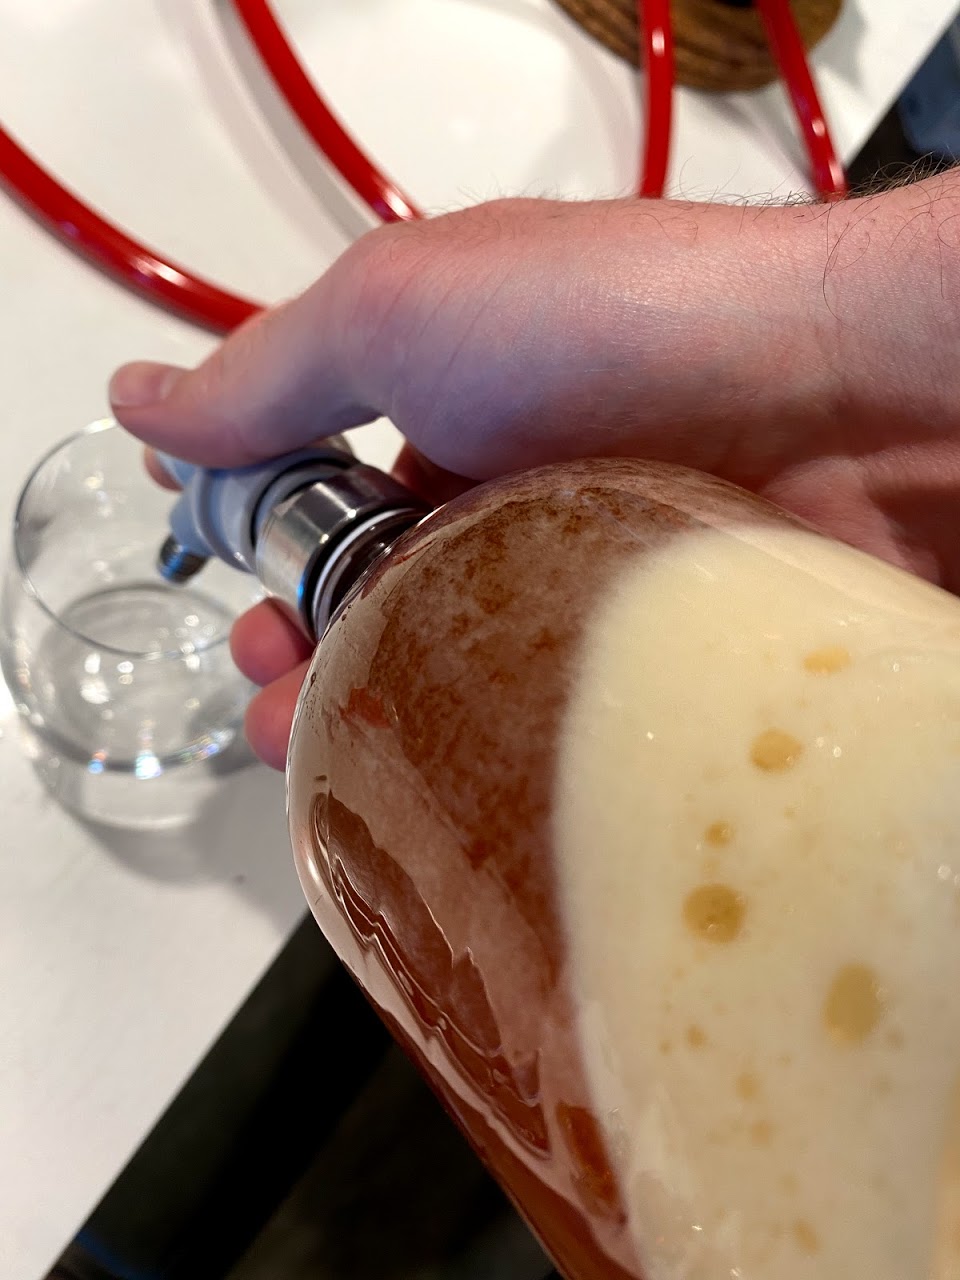
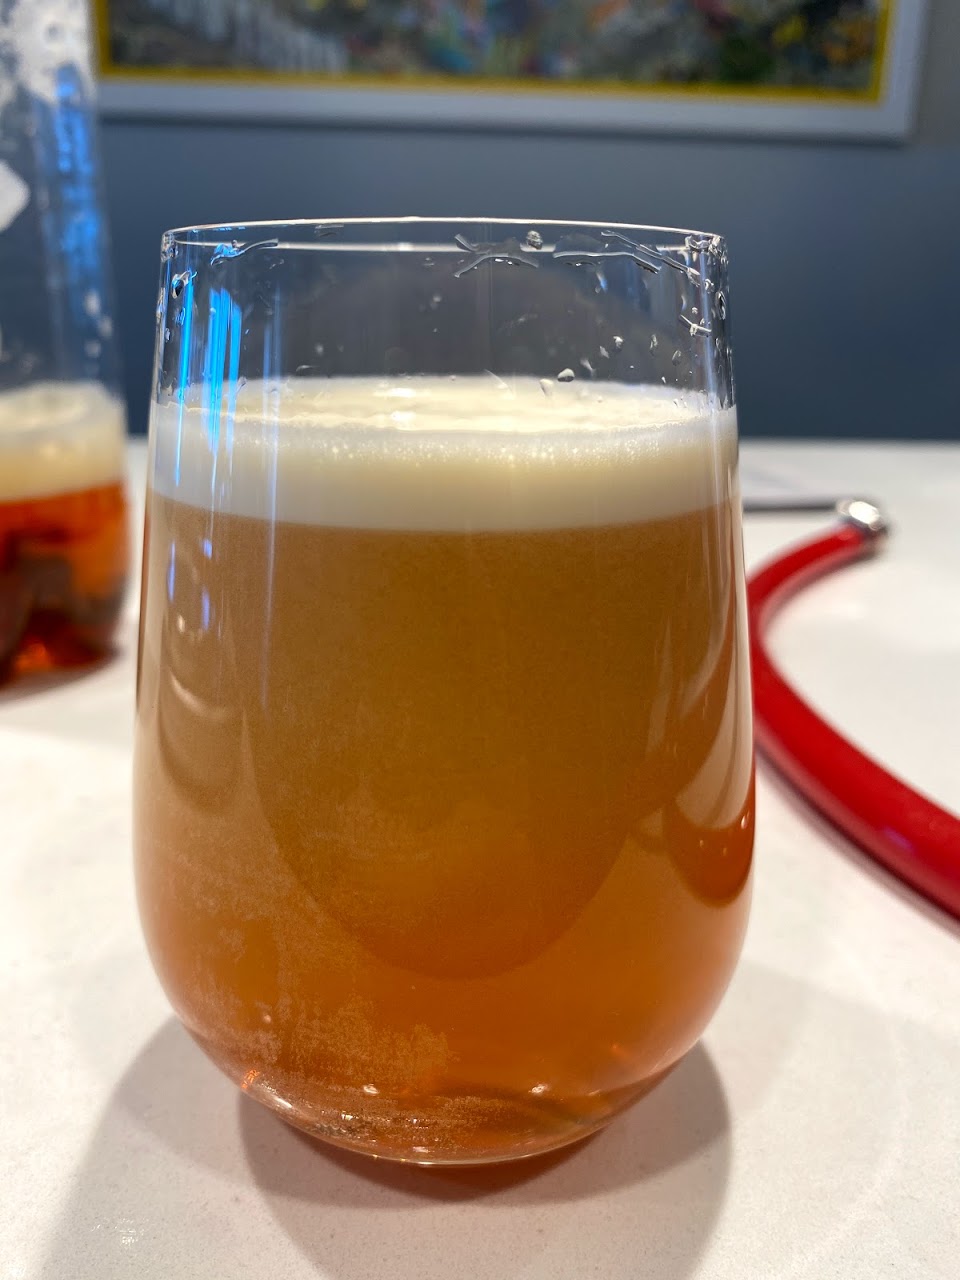
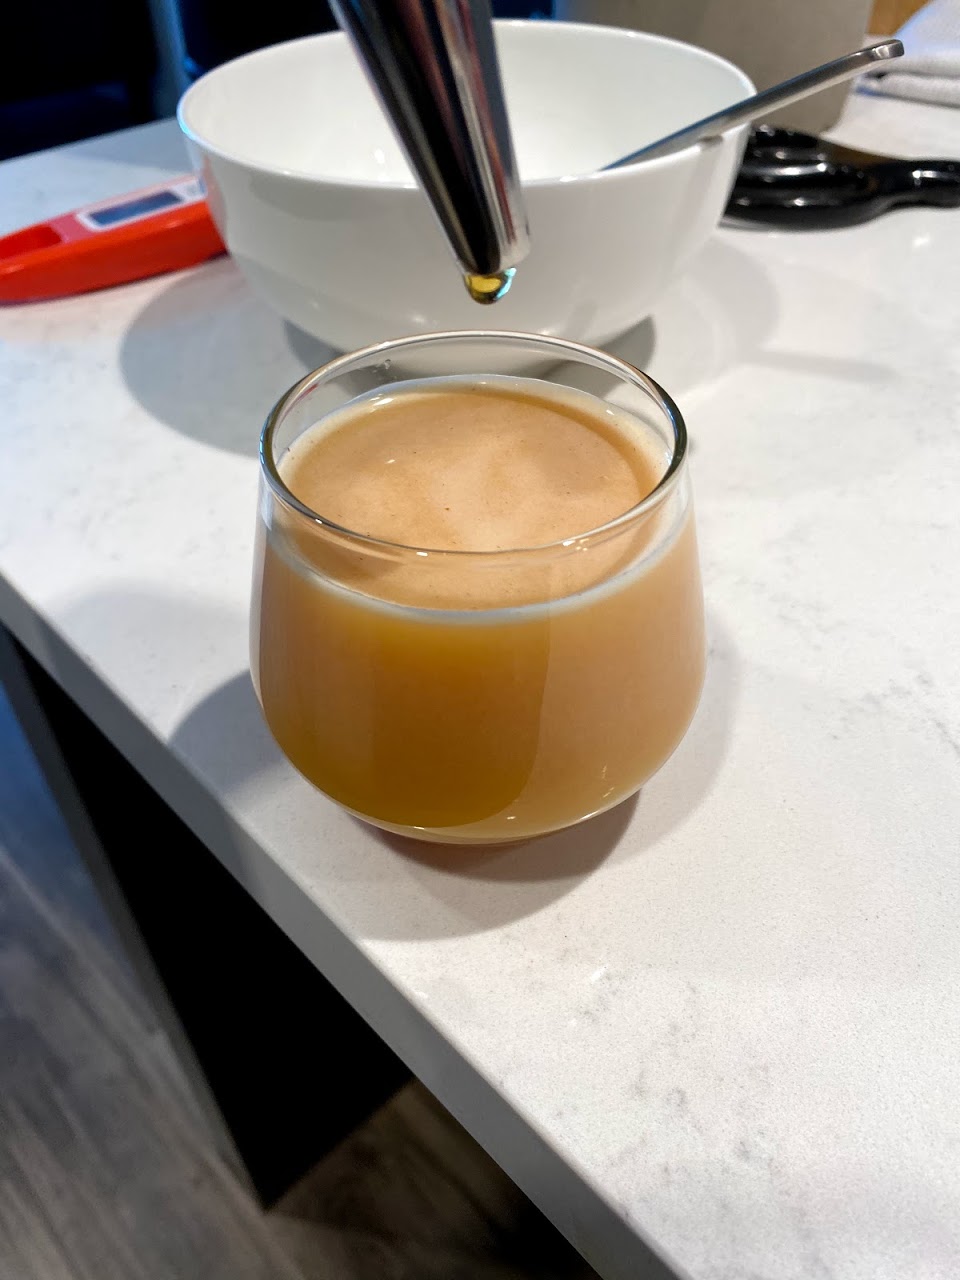
The final product! Looks and tastes deliciously smooth.
Cost: $85
Parts:
I’d proven that the system worked, but there were a few problems:
Getting a proper nitro tap handle would solve both of these issues, and building a siphon system, like an actual keg, would let me dispense it “right side up”. Another Amazon order later, and we’re ready to go.
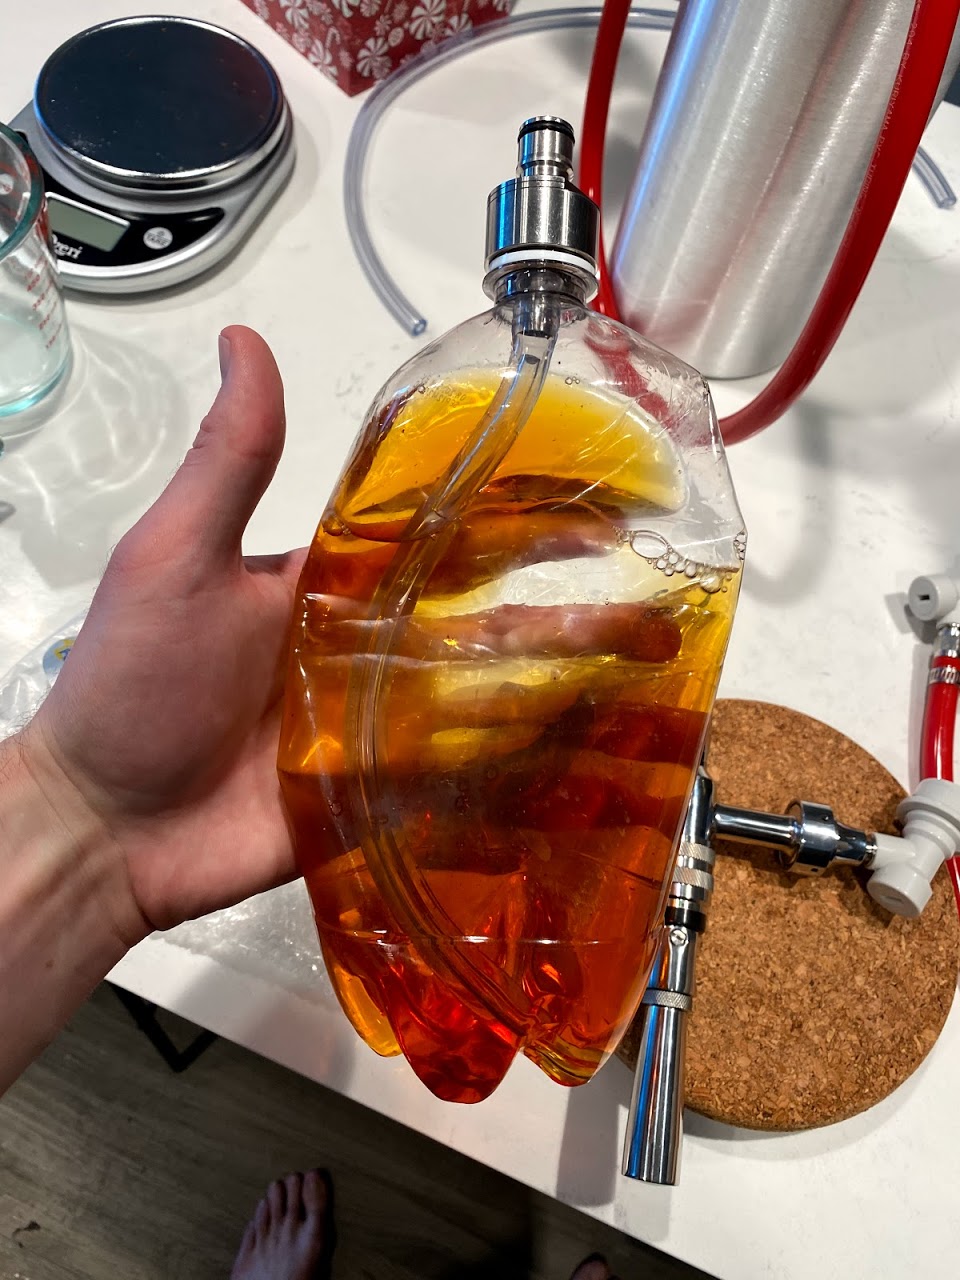
Pressurize and shake, then add the tap handle assembly.

Perfectly dispensed tea!
Cost: $120
Parts:
At this point, everything worked and I was able to successfully make one to two drinks per bottle; however, I definitely noticed that towards the end of a pour, I wasn’t getting as much nitro froth, since the pressure was decreasing. I needed to have constant pressure on the system, which meant I needed to have a dedicated inlet and outlet. I had to build a keg.
Building pressure vessels is not my forte, but I figured a Nalgene bottle should be able to handle 40 PSI, so I walked over to REI and picked one up (on sale for $6 no less!), and proceeded to drill two 1/2" holes in the top.
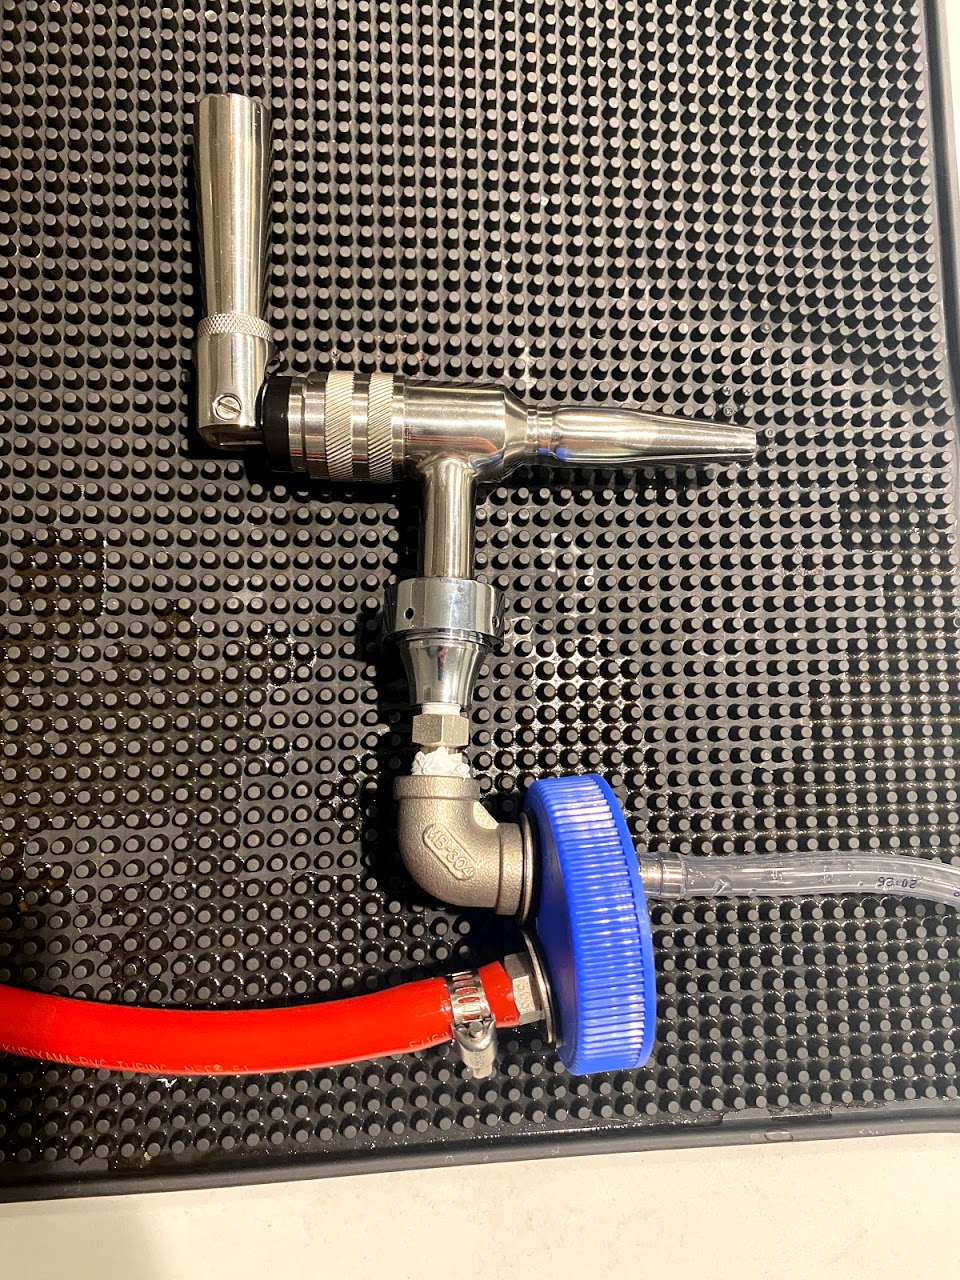
I then teflon taped every male thread, including that of the Nalgene bottle (plastic on plastic seals definitely require tape to seal), and put things together in roughly this order:
barb -> steel washer -> neoprene washer -> bottle cap -> neoprene washer -> lock nutelbow -> steel washer -> neoprene washer -> bottle cap -> neoprene washer -> steel washer -> barb (note: don’t add the tube yet!)NPT to flare -> flare to faucet -> tap faucetCompleted, it looked like this:
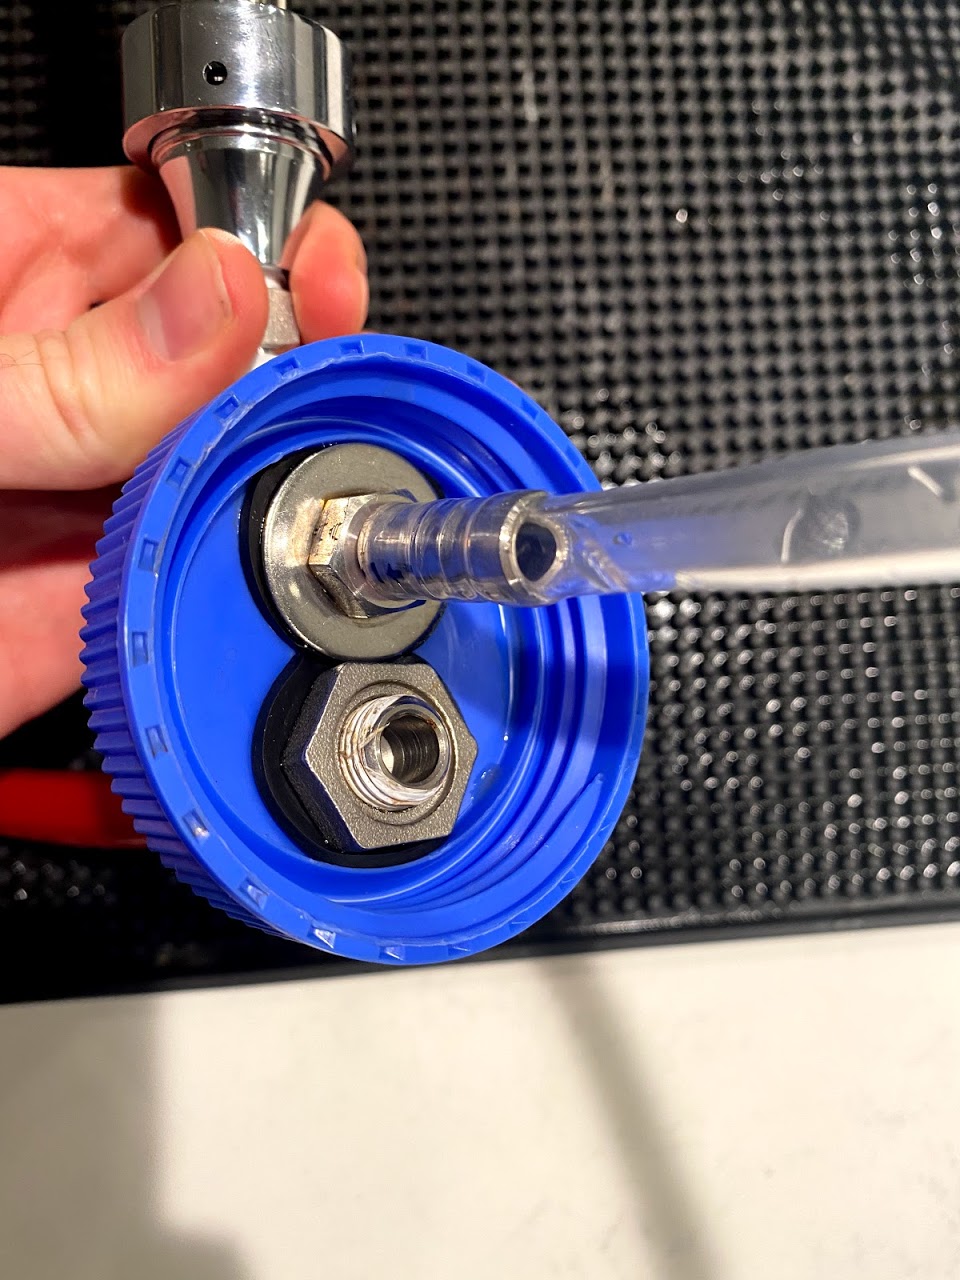
Here’s a closer look at the inside of the cap (it’s tight in there!):
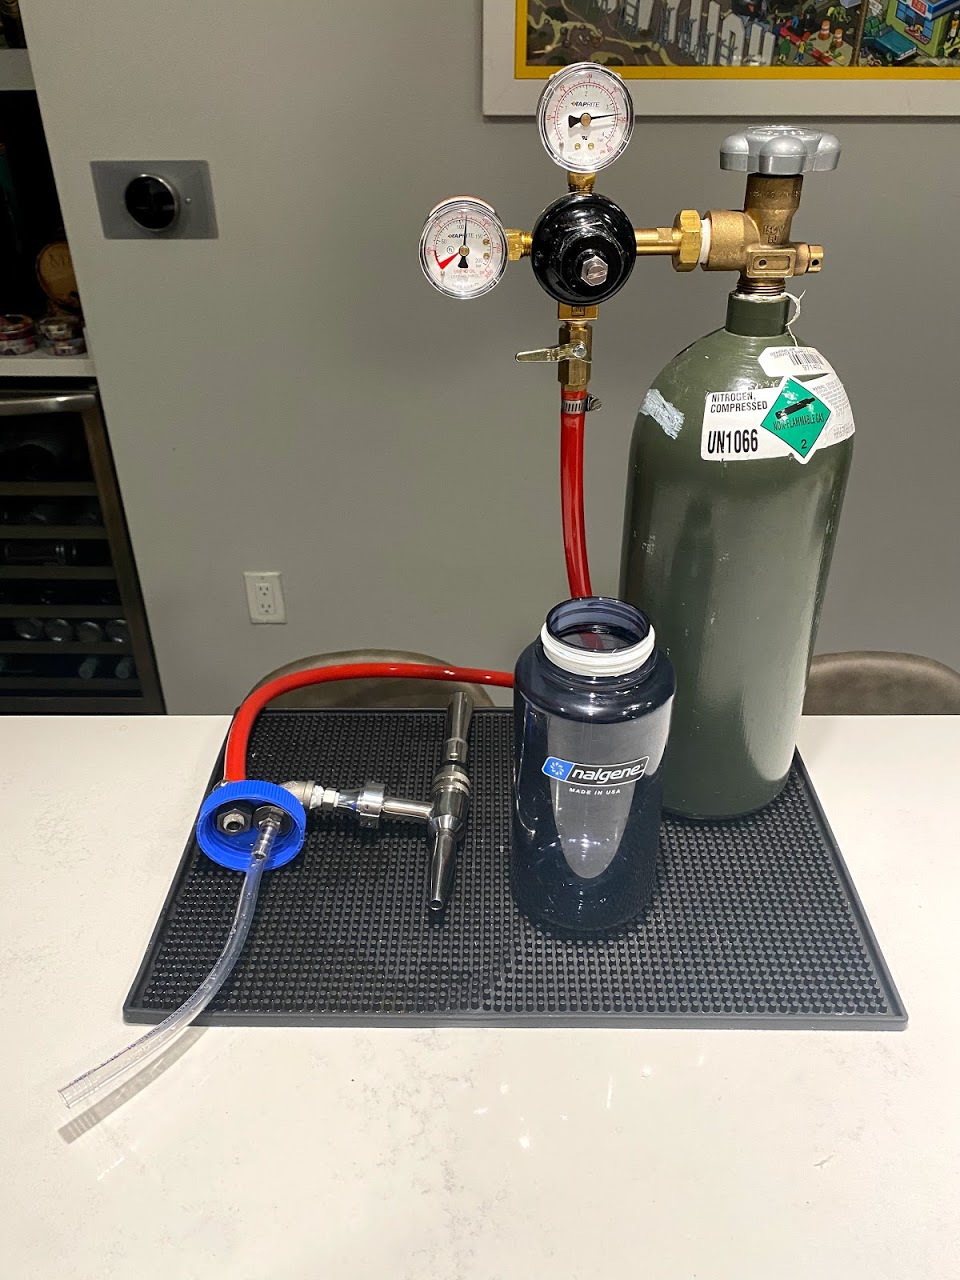
Here’s the full setup:
As you might imagine, it pours full glasses of tea with a perfectly creamy consistency.
Remember in the last post where I decried how hard it was to buy liquid nitrogen in small quantities? Well, do I have some good news for you…
When I went to fill my nitrogen tank at the local welding supply store, I asked about low volume LN sales, and the guy said that they’re happy to fill anything as small as a vacuum flask, so long as there’s some form of secure cap that allows venting excess pressure (so nothing that screws or clamps on).
Luckily I’ve got a few Stanley vacuum insulated growlers, some foam, and aluminum tape from a project years ago to build a kegerator, so I’ll be ready to cryo-muddle some more interesting things (e.g. berries!) as well as make ice cream (and maybe even Dippin' Dots).